

Interior surface graphics guide: What vendor checks prevent costly mistakes?
Seven actionable vendor checks and exact proofs to request before approving UV wall prints, murals, or large-format surface graphics for interiors.
Commissioning a mural, direct-to-wall print, or surface graphic is a high-stakes decision for restaurants, retail, offices, hotels and high-end homes. This interior surface graphics guide lists seven concrete vendor checks and the exact proofs to request so you avoid adhesion, colour, or scheduling problems that are costly to fix.
Seven checks to run before you approve a wall print
Use the short question after each item when you brief a vendor. If any check raises doubt, pause the project until the vendor provides the requested proof.
- Substrate compatibility and site testing — "Have you tested this exact wall?"
- Surface preparation and repair scope — "What cleaning and repairs are included in the quote?"
- Artwork proofs, scale and colour verification — "Can you show a photo mockup on my wall and a signed approval?"
- Photo-based quoting and measurement checks — "What measurements, waste allowances and tolerances did you use?"
- Installation logistics and site coordination — "Show the site plan, access windows and lift needs for my location."
- Maintenance, cleaning and warranty expectations — "Which cleaners and routines are safe and do you provide a maintenance sheet?"
- Vendor vetting and red flags — "Can you provide similar before/after projects and contactable references?"
Substrate compatibility and site testing
Different wall types respond very differently to adhesives and direct UV inks. Painted drywall, textured plaster, brick, porous concrete, metal and raw wood each demand a specific workflow. For porous masonry or flaking paint, insist on a test patch and documented adhesion results. Manufacturer FAQs and product guides recommend test patches for brick and porous concrete before committing to a full install because they clarify cleaning, drying and staged-application steps.
Questions to ask
- Have you completed a site-specific adhesion test or test patch on this wall?
- Which substrates or coatings will you not print on without specialist surface treatment?
Evidence to request
- Photographs of the test patch taken immediately, at 24 hours and at 48 hours of cure.
- A short written test report indicating pass/fail criteria for pull, peel or visual adhesion.
Reference: see manufacturer guidance for porous substrates and staged application in the Substance FAQ for masonry and porous concrete installations: Substance | FAQ.
Surface preparation and repair scope
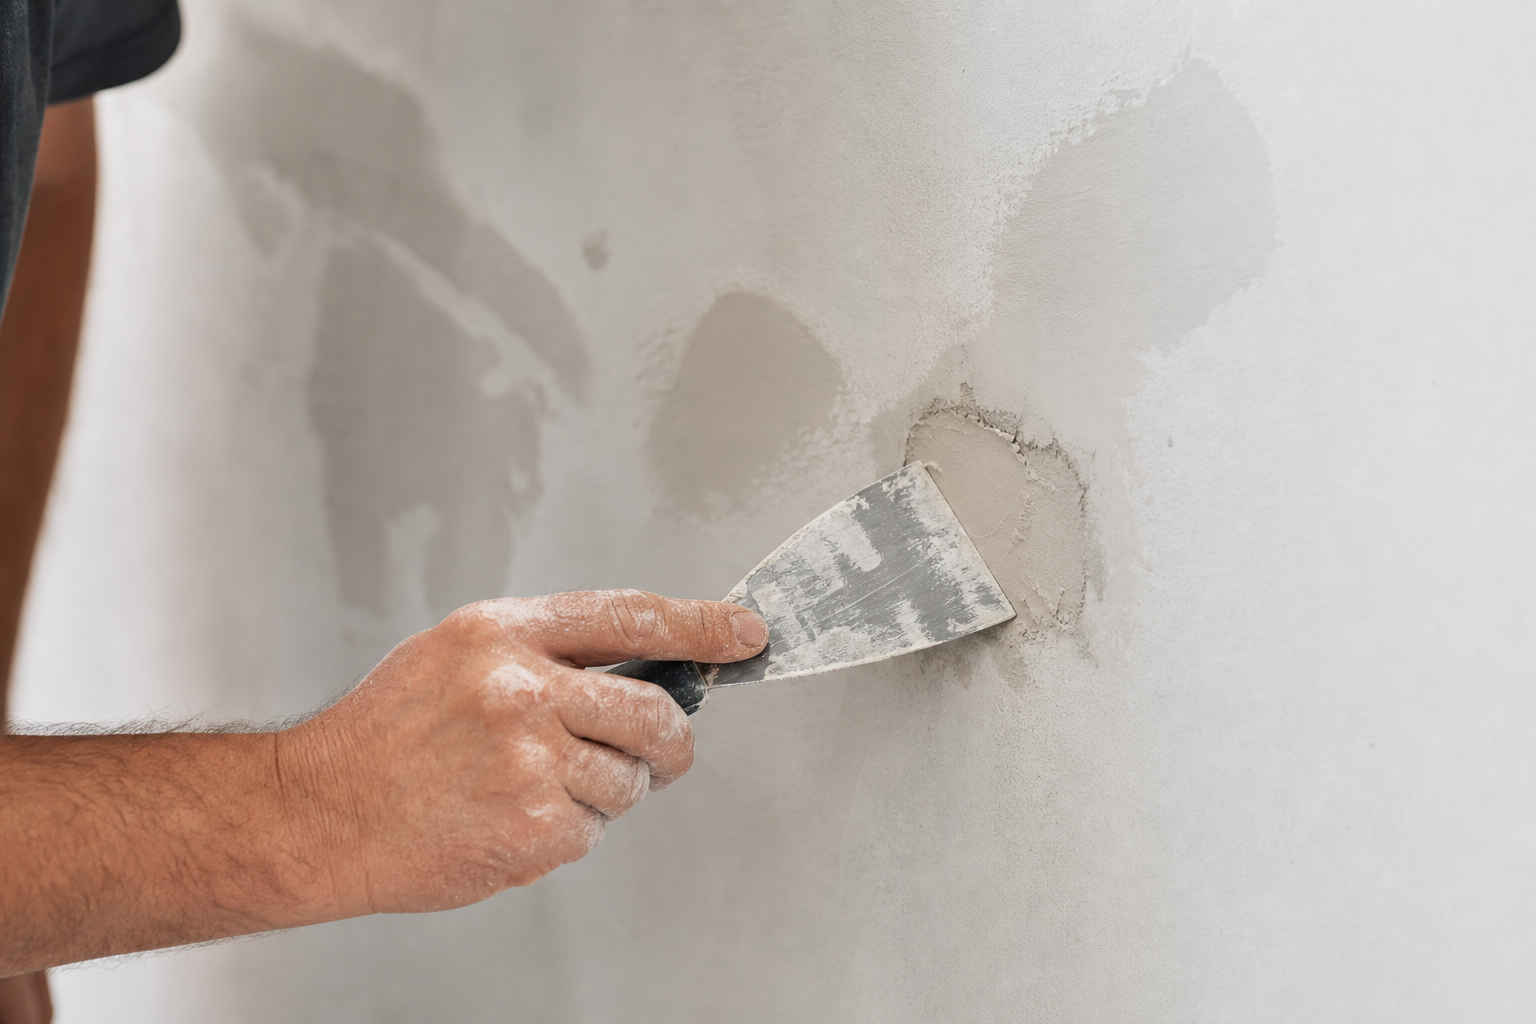
Surface preparation is where projects succeed or fail. Professional prep can include cleaning, degreasing, patching cracks, removing loose paint, sanding, filling, priming and sealing. Skipping or underquoting prep is a frequent source of cost overruns and adhesion failures. Installers experienced with interior wall graphics match media and application tape to the wall finish and document each prep step so responsibility is clear if hidden damage is discovered.
Questions to ask
- Exactly what will you do to prepare this wall, and what do you expect the client to fix first?
- Who is responsible for structural or decorative repairs uncovered during prep?
Evidence to request
- A written surface-prep scope with photo examples of the wall before and after prep.
- A clear change-order policy if hidden damage is discovered and a timeline impact estimate.
For practical notes on matching vinyl and tape to wall finishes, review an industry primer on interior wall graphics: A Basic Guide to Interior Wall Graphics.
Artwork proofs, scale and colour verification
Treat mockups as mandatory. Require a high-resolution mockup placed on a straight-on photo of the actual wall with scale notes or a dimensioned overlay. For premium projects, confirm the supplier uses a 4K or equivalent artwork file and that the mockup used for approval is the same file used for printing. Require a signed approval before any irreversible work begins. These steps create a record that text placement, cropping and scale match your expectations.
Questions to ask
- Will you produce a photo mockup of my wall with scale annotations and a digital proof I can approve?
- Can you show before/after portfolio pairs using the exact technique you propose?
Evidence to request
- The mockup image set showing the final artwork on your photo of the wall and a copy of the signed approval form or approval email.
- A statement of artwork source resolution such as "4K artwork detail" or file pixel dimensions used for print.
See examples of mockups and workflow documentation in the studio article on surface graphics for interiors: surface graphics for interiors.
Photo-based quoting and measurement checks
A fast quote from photos speeds decision-making, but an inaccurate photo quote creates surprises on install day. Supply vendors with a straight-on full-wall photo, corner and elevation shots, and floor-to-ceiling measurements with door and window offsets. Vendors should show how they calculated material waste, seam locations and field-tolerance allowances. Ask whether they will perform a site measure before print day and what tolerance they allow for final fit adjustments.
Questions to ask
- Did you use a straight-on photograph and annotated dimensions to produce this quote?
- Do you include a mandatory site measure and a tolerance range for final fit adjustments?
Evidence to request
- An itemized quote that breaks down material, surface prep, print time, labour, lifts or scaffold costs, and any access or after-hours fees.
- A dimensioned schematic or annotated photo used to prepare the estimate showing seam and waste assumptions.
Installation logistics and site coordination in Ontario venues
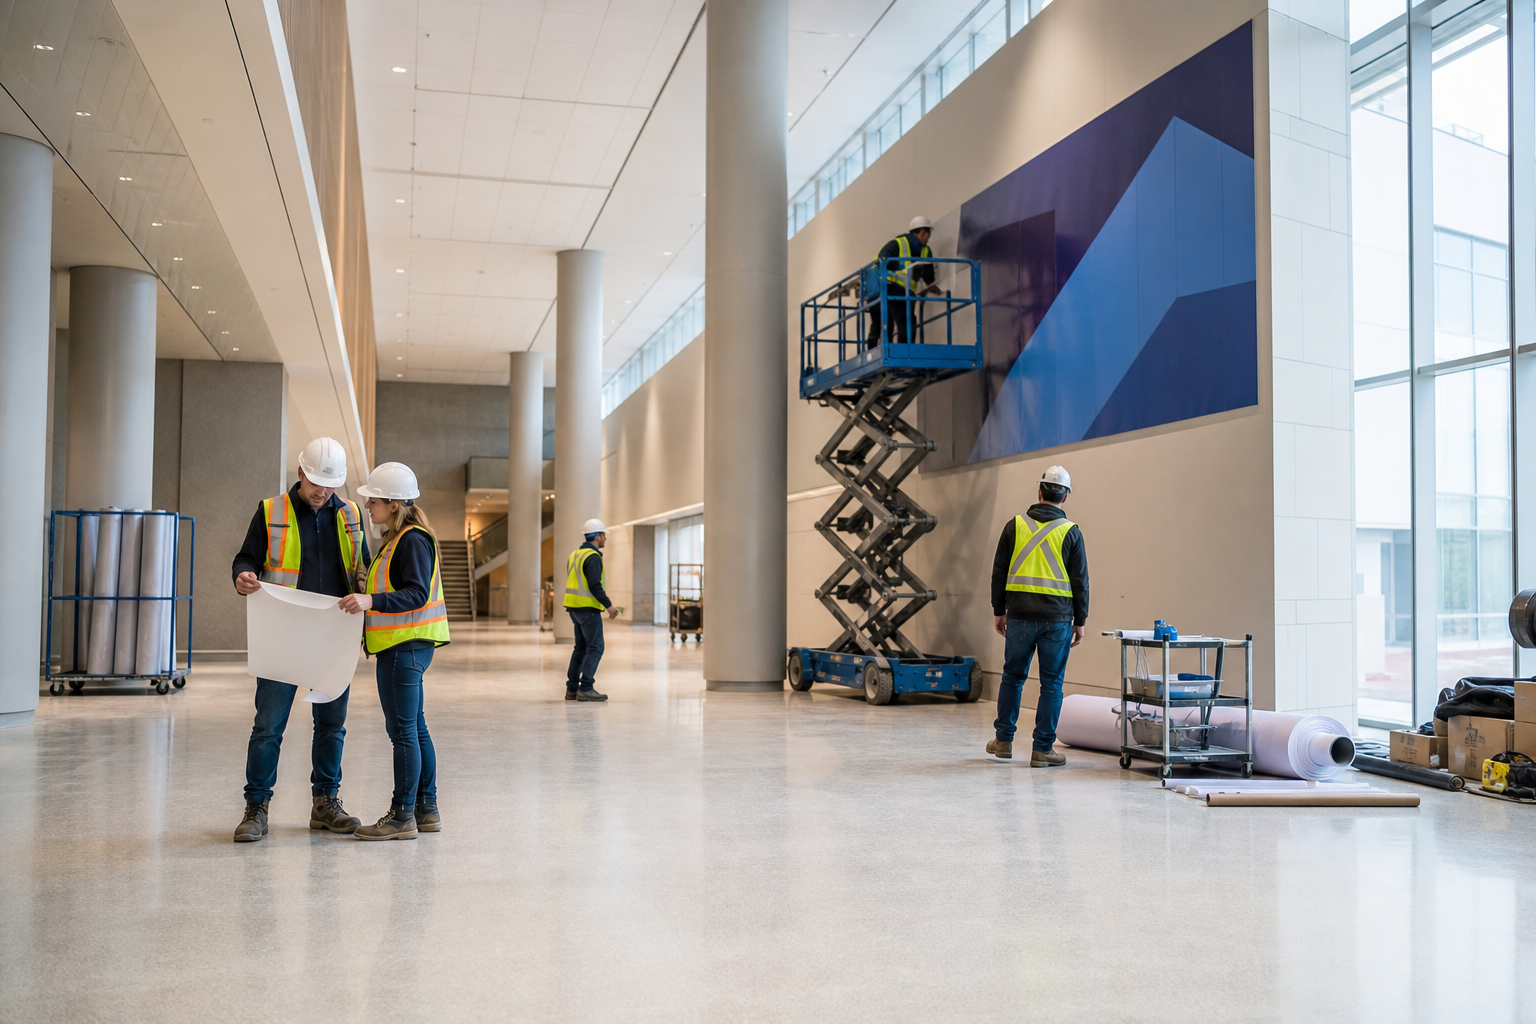
Local logistics shape cost and schedule. In Toronto, Mississauga, Brampton, Vaughan, Markham, Oakville, Hamilton and Kitchener, expect varied rules for condo common areas, restaurant service hours and municipal loading zones. Confirm install hours, elevator access, parking for trucks and lifts, noise restrictions and who will coordinate with facility managers. Ask for proof of liability insurance and a certificate of insurance. For commercial venues, require a site plan and timeline that includes set-up, print, cure or laminate times and a client walkthrough window.
Questions to ask
- What are the proposed access windows, and do you need scaffolding or a scissor lift?
- Who will coordinate on-site with my building manager or facilities team?
Evidence to request
- A site coordination plan with timing, a list of equipment, proof of insurance and a contact for a recent local install.
Maintenance, cleaning and warranty expectations
Even durable UV prints need clear maintenance guidance. Insist on a maintenance sheet that lists approved cleaners, spotting procedures and any restrictions on solvents or abrasive cleaners. Vendors should provide a written policy describing what constitutes normal wear and what is covered by warranty or touch-up service. Request examples of installed projects where the supplier documents cleaning regimes and long-term appearance.
Questions to ask
- Which cleaning chemicals are safe and what cleaning routine do you recommend for high-traffic areas?
- Do you provide a maintenance sheet and a written warranty or touch-up policy?
Evidence to request
- A maintenance specification sheet and photographs of similar projects after regular cleaning.
Installation guides for interior graphics commonly include cleaning recommendations and warnings about abrasive methods. Ask the vendor to cite manufacturer cleaning guidance for the media they propose so your facilities team can follow the correct routine.
Vendor vetting, red flags and final decision checklist
Before you sign, run these checks. Request before/after photo pairs of similar substrates with client contacts you can call. Confirm the mockup used for approval matches the final print file and that the vendor supplies an itemized written quote. Ask for proof of insurance and any health and safety documentation required for on-site work. These are the most common issues that should stop a project.
- Red flags to reject: refusal to do a test patch, no visual mockups, an itemized quote that omits surface prep, inability to provide local references, or vague answers about cleaning and maintenance.
- Checks to pass: documented adhesion tests for nonstandard substrates, signed mockup approvals, a clear change-order policy, proof of insurance and a site coordination plan.
Printable final checklist of documents to collect before approving work: test patch photos and report, written surface-prep scope, signed mockup and approval, itemized quote and schematic, site coordination plan, maintenance sheet, insurance certificate and references.
Next step: what to send with your initial brief
To get a fast, accurate response include these items in your first message to any vendor: a straight-on full-wall photo, corner and detail photos, floor-to-ceiling dimension and door/window offsets, the preferred artwork file or concept, ideal installation dates and any site access notes such as loading docks or elevator limits. Attach a budget range to help vendors propose realistic options and ask for a photo-based quote with an explicit site-measure requirement.
For examples of how a studio documents mockups, test patches and final installs, see the surface graphics for interiors article and the studio home page where process steps and portfolio examples are explained: surface graphics for interiors, Ink Blend.
Frequently asked questions
How should a vendor quote from photos to ensure the price is accurate?
A reliable photo quote starts with straight-on and corner wall photos plus floor-to-ceiling dimensions. The vendor should return an itemized quote, an annotated photo or schematic showing seam and waste assumptions, and a statement confirming a mandatory site measure before final production. If the vendor will not measure the site, treat the quote as preliminary and request a contingency for field adjustments.
What substrate tests are essential before approving direct-to-wall UV printing?
Essential tests include a site-specific test patch photographed over the first 24 to 48 hours to confirm adhesion and visual finish, and any manufacturer-specified adhesion or solvent tests for the ink or film being used. For porous masonry and brick, cleaning and drying procedures should be documented and followed before full application. See the Substance FAQ for staged application and drying recommendations for porous surfaces: Substance | FAQ.
What should you expect on installation day for a commercial wall print?
Expect a site crew with the equipment listed in the site plan, a brief client walkthrough before work begins, and either a temporary closure for the wall area or protective measures for nearby surfaces. The crew should confirm dimensions, show the signed mockup approval and follow the agreed access and noise windows. A post-install walkthrough should capture acceptance photos and any touch-up items.
How do UV wall prints compare with wallpaper and printed panels for durability and finish?
Direct-to-surface UV printing offers a seamless, high-resolution finish and is often chosen as a wallpaper alternative when durability and customisation are priorities. Printed panels provide removable options and may be preferable in heavily trafficked spaces where replaceability is desired. Compare mockups and material recommendations from the vendor and request examples of both finishes under similar traffic conditions.
What cleaning methods will keep a surface graphic looking its best in a high-traffic space?
Vendors should supply a maintenance sheet that names approved cleaners and methods to avoid, such as abrasive pads or harsh solvents. For most interior printed surfaces, a gentle, pH-neutral cleaner, soft cloths and spot testing are recommended. Do not use solvents or abrasive methods unless specifically validated by the manufacturer and vendor.
Key local note: if you are in Toronto, Mississauga, Brampton, Vaughan, Markham, Oakville, Hamilton or Kitchener, mention any building or condo rules up front so the installer can plan around municipal and property requirements.
If you want a quick intake checklist to attach to your initial brief or to request a photo-based quote, follow the items listed in the "Next step" section and include annotated photos and a budget range so vendors can respond with practical options.
Ready to proceed or want examples of mockups and test patches used in previous projects? Visit Ink Blend for portfolio examples, workflow notes and a quick intake form for photo-based quotes: Ink Blend.